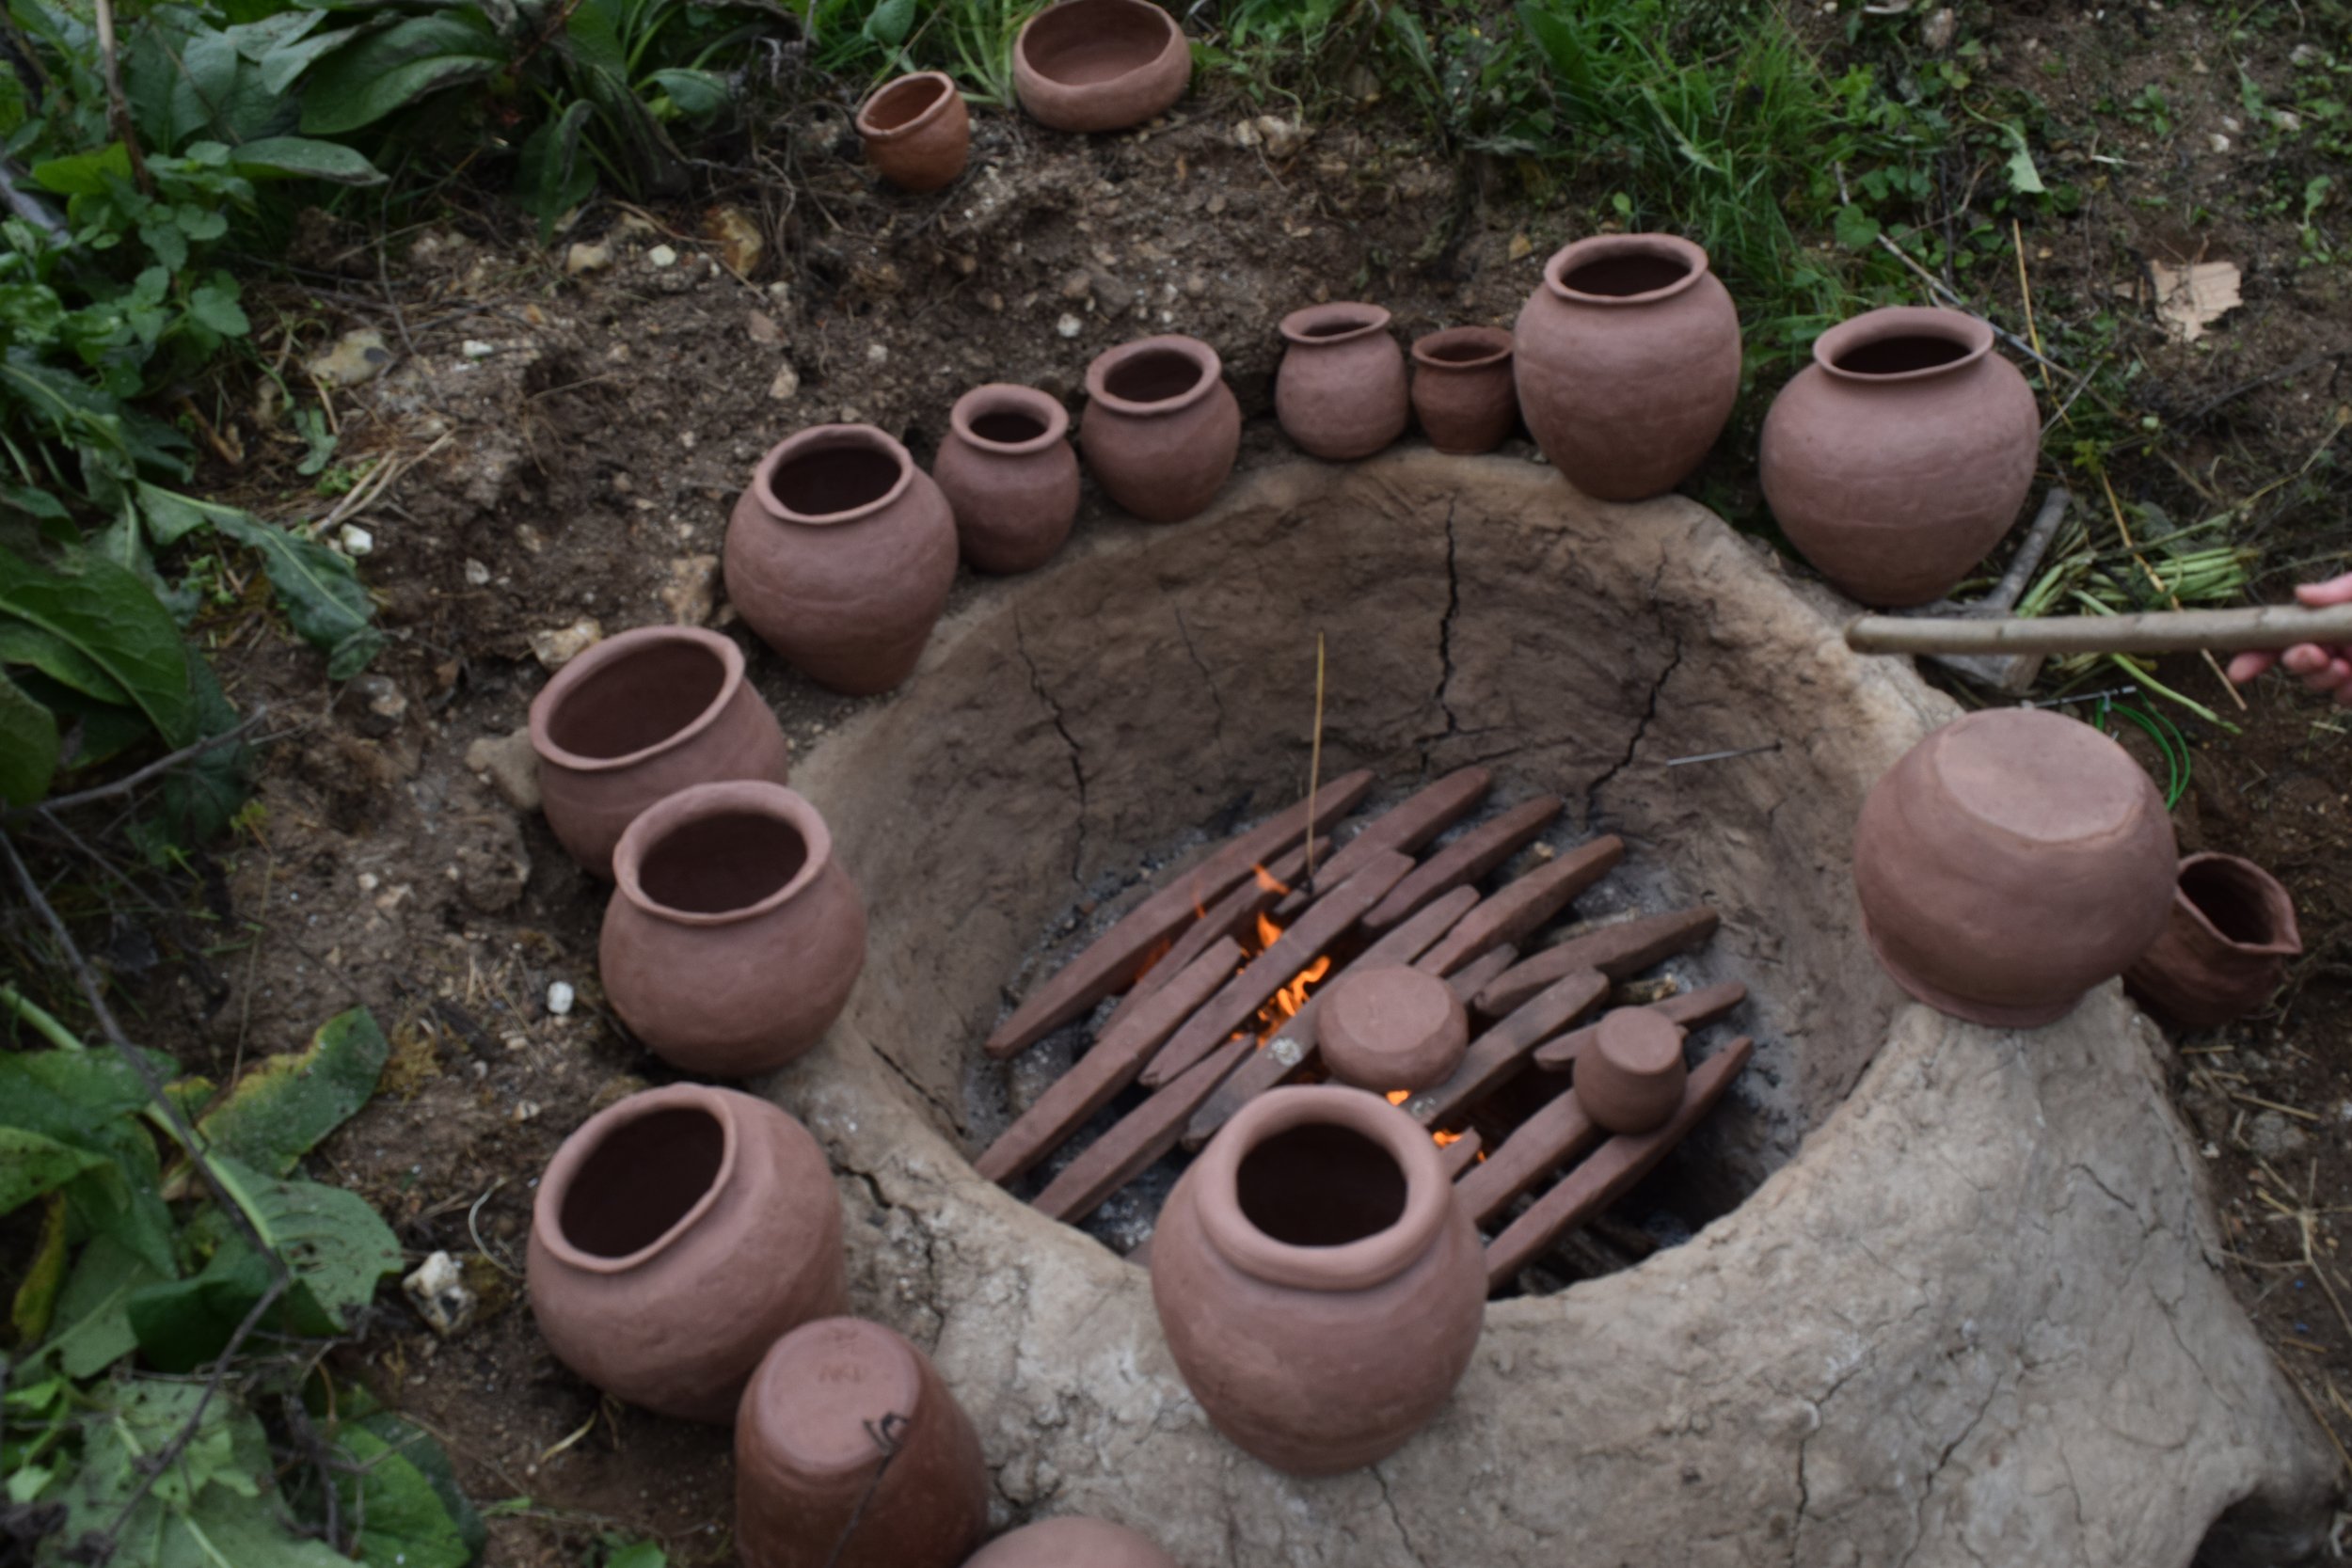
Previously in our blog we heard from Professor Bill Sillar - Professor of Archaeology and Technology in Society at UCL Institute of Archaeology about the Roman Kiln UCL built at the farm. Below Bill describes the process of firing the Kiln for the first time during UCL’s ‘Archaeotech’ experimental archaeology course.
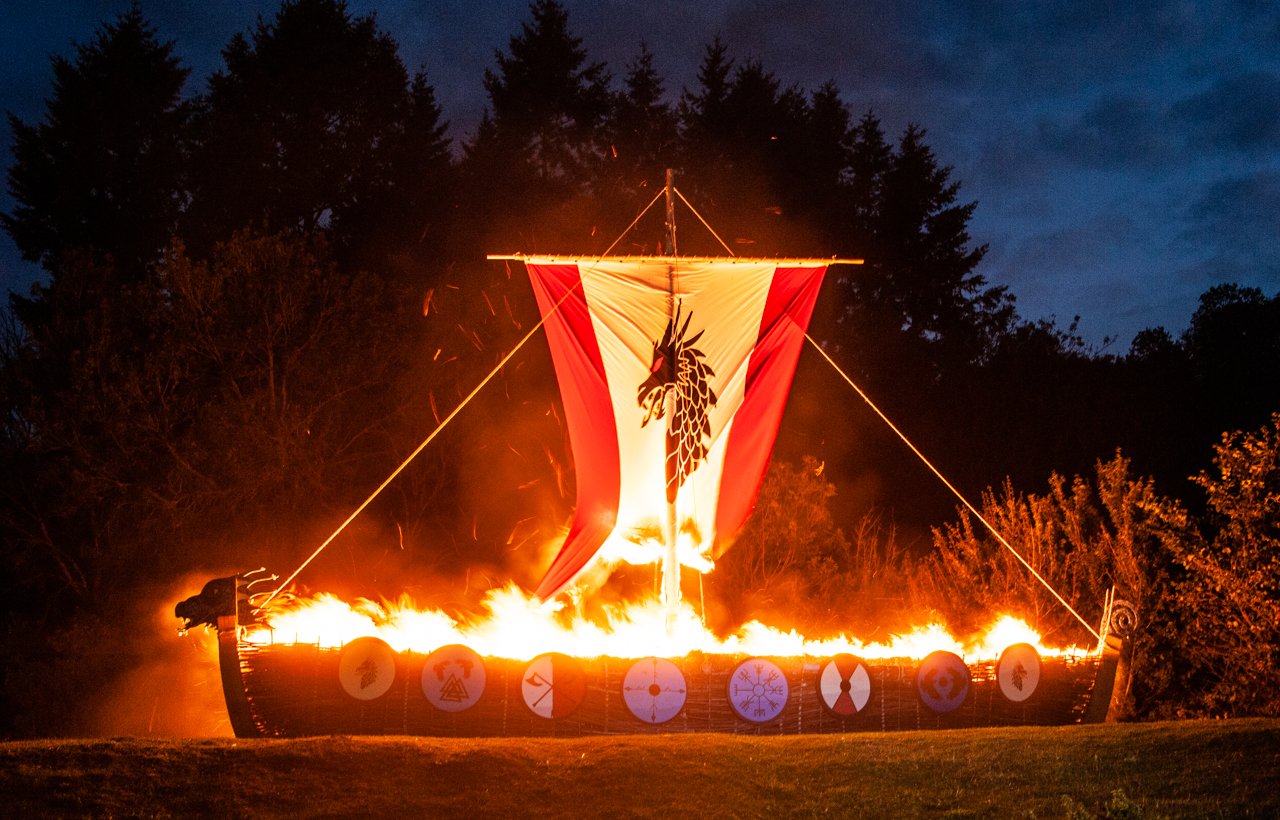
Viking Boat Burn for the Autumn Equinox 2022
An Experimental Charcoal Burn
During the Festival of Archaeology, we were joined by woodsman Mark Allery to demonstrate the process of charcoal making. He was helped by Katie, a student from Bournemouth University on a work placement here at Butser. Here she is reflecting on the experience — just one of many things she’s been helping us with on site!
During the Festival of Archaeology, I spent a day working with Mark Allery learning the process of making charcoal. It was fascinating to learn, as we did two different methods: using an oil drum and a traditional earth burn. The oil drum was used to produce a larger amount of charcoal to be used for other experiments, such as metalworking, whereas the earth burn was more of an experiment.
Typically, an earth burn would use 4-foot logs, arranged upright in a circular pattern around a central pole, which is then covered in bracken and then an earth clamp. However, the earth burn that we did was on a much smaller scale, almost 1/8th the size of a traditional earth burn. Burns of this size aren’t typically done, but we wanted to see if there would still be a good yield of charcoal when using smaller logs.
Arrangement of logs before the earth clamp was constructed.
Thin sticks and offcuts were stacked around a central pole in a triangle shape, to create a base structure and provide fuel for the burn. The logs we were burning were around 8-9 inches and had been cut in half vertically. This allowed us to lay them upright around the ‘pyre,’ alternating the direction they were facing. The first layers edge was flat against the side of the structure, then the next layer faced outwards, which was repeated until it created a circular shape around the central log and pyre. Lastly, more logs were laid on top of the pile, creating a layer to help stop dirt from falling through the wood. Fresh bracken was placed on the top and around the sides to give another protective layer before dirt was packed around the entire structure.
The central pole was then removed, and the hole was filled with wood shavings, chips and a cloth wick soaked in oil. The wick was lit, and the hole was sealed using a flat piece of wood, bracken, and more dirt, completing the earth clamp.
Oxygen and temperature play a significant role in the process of making charcoal. We found that, due to the size, it was difficult to control these factors in the miniature earth burn. With the oil drum, it was easier as there were holes that could be covered and uncovered, depending on how fast or slow the burning needed to happen. On the miniature burn, the smoke was still only coming out of the top, which meant that the wood that was lower down wasn’t being cooked and wouldn’t end up as charcoal. We decided to poke holes along the bottom of the clamp, to try and ‘throttle’ the burn by bringing more oxygen into it. We hoped this would increase the temperature and help to speed up the process.
The earth burn.
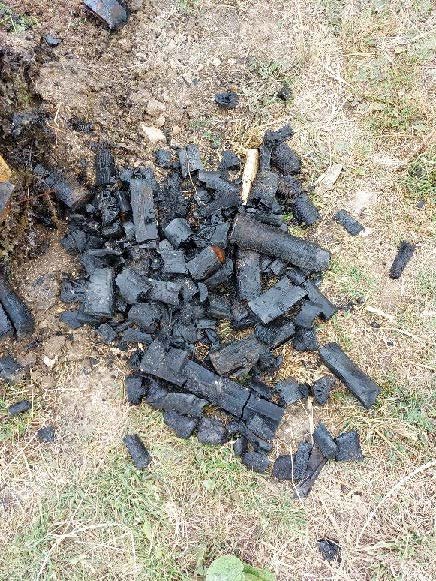
Charcoal produced by the earth burn.
In total, we left it to burn for around 4.5 hours before we stopped the process by pouring water on it and starting to remove the earth and bracken. The results of the experiment showed that only the top 2 inches of the logs had been turned into charcoal, and that the outermost logs hadn’t been burned at all.
We decided that when building up the wood, we should have sloped the sides, rather than leave them straight, to allow for better airflow. We also should have left it to burn for longer, but we were working under the time constraints of the day. The earth burns done on a larger scale can burn for several days, so our mini experiment might have yielded more charcoal, had we left it longer.
The oil drum.
Charcoal produced by the oil drum burn.
Even though the mini earth burn didn’t yield much charcoal, the oil drum did, with most of the wood becoming charcoal. This burn process was fully completed, allowing the wood to have a good chance to fully cook. We knew this because the smoke from the drum turned blue and then almost stopped. At this point, we placed the lid on, sealed the edges with sand and the holes at the bottom with earth. This stops any airflow into the drum, and stops the cooking process, allowing the charcoal to cool down so it can be used. When we lifted the drum, we found a pile of charcoal was then taken to other areas of the farm for use.
Even though the experiment didn’t go entirely to plan, it was still exciting to find out what would happen. Using the results, and corrections, we could re-do the experiment to see if an earth burn of this size could produce a good amount of charcoal in relation to how much wood you choose to burn. Learning this process was incredible, and I’m thankful that I got to experience it, alongside all the other skills I’ve learnt on my placement!
Theory Vs Practice – experimental brass production
Building a Roman Kiln
Over the Easter holidays we welcomed staff and students from UCL and Archaeology South East to Butser for a mini ‘archaeotech’ - a chance for the students to get hands on with some experimental archaeology.
In the process they built a wonderful Roman kiln at the farm. Below Bill Sillar, Professor of Archaeology and Technology in Society at UCL Institute of Archaeology shares the process behind this latest construction.
The Opening of our Second Saxon Hall!
Glastonbury M74 Roundhouse - What goes up, must come down…
The Bog Blog - building an Iron Age Toilet!
At the end of last year we were joined by Sarah and Barnaby from Bournemouth University for a work experience placement. During their time at the farm they helped with a huge number of different projects including re-doing our Iron Age toilet. Here Sarah tells us about the process behind this project.


